Next step was a transparent yellow glaze on the white area remaining. It was important to maintain the guide lines I penciled in at the beginning so I'd know where to place the orange scales.
|
Here it is with the blue-to-black edges cleaned up, and a base coat on the eyes. In the last two photos of the tail the final blue overcoat has been added, which gave the matte finish a metallic, high-gloss luster. 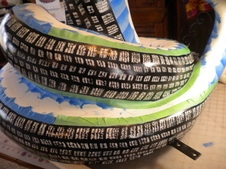 All the blue stripes are complete. Here I've re-masked the blue/black edge to make it easier to tidy up the edges... 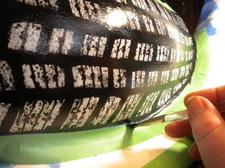 ...like this. I used a roll and a half of masking tape during the course of this project. I love the nice clean lines. 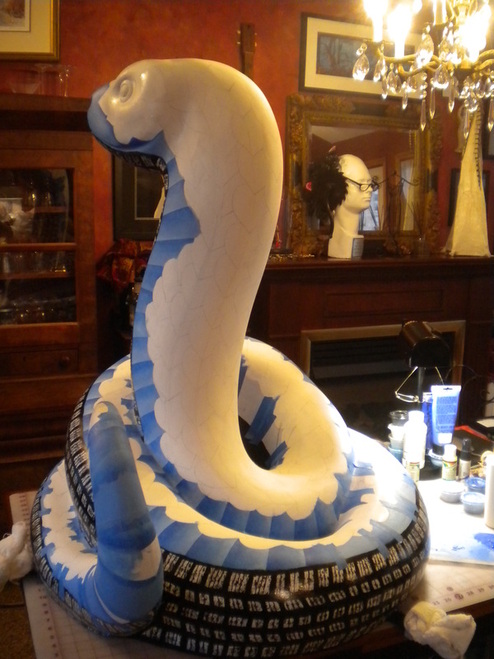 The remaining blue work is repetitive: it's simply one block following another at this point. I'm hopeful that in the next two days I'll have finished with the blue acrylics: I'm eager to add metallic touches. 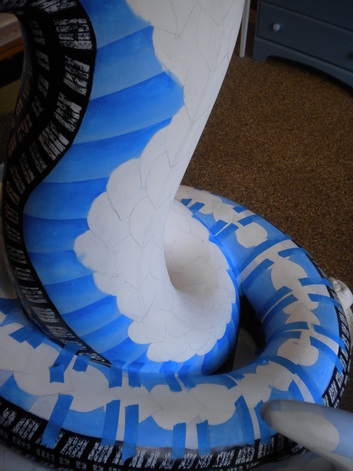 A couple of days have passed. From this pic you can see that I'm masking each block to keep the lines clear and sharp and exercising care by allowing 24 hours drying time before I mask and paint the remaining alternate white areas; otherwise the painters tape might lift the fresh paint. This side of the neck is shaded. Note the intensity of color... 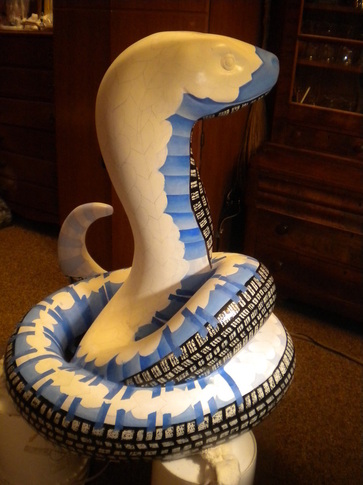 ...and that the hue perfectly matches the painters tape. (If I'd used green tape it would have been easier to line up along an already painted line. Ain't hindsight grand?) Perfect uniformity is not something I labor over. Variance humanizes art. However, there is a happy medium between rigidity and chaos. If something jumps out and my eye returns to it over and over again, I make adjustments until the feature disappears into the whole. At the end of the day I stand back and look for just such glaring differences. There are a few on this side of the neck which will need touching up. 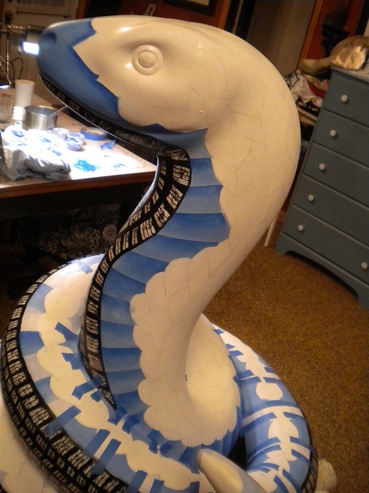 Moving along. I'll be adding highlights to the facial areas later. 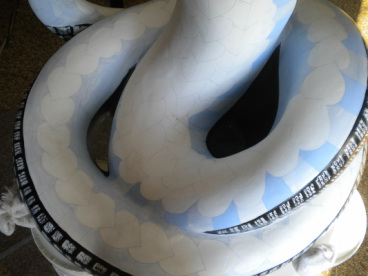 In this and the following two photos you'll get a closer look at the customized design layout. While adjustments were made to the original design which consider the sponsor's specialty —tires— I feel that the flavor of the original has been maintained. 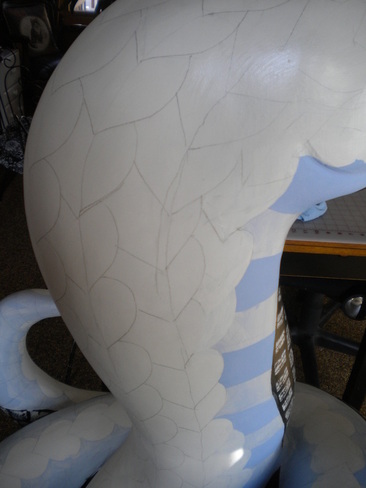 You'll notice that I've added wide horizontal striping to the blue field and here I've begun to lay down the median blue base coat. I'm painting alternate stripes so that I won't lose the layout in a blur of blue. 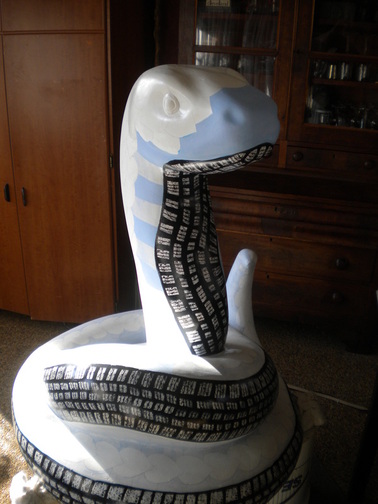 When the first round of alternate stripes have their base coat, I'll shade each section individually that up by repeating the process on the unpainted remaining areas. You'll notice that Blue Racer has been removed from my work table and set on several 5 gallon buckets to make it easier to reach the head and neck. Painting while standing on a ladder just doesn't work. 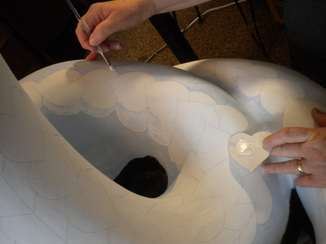 After laying out the scales I thought it would help me to see if I was going to have the blue/orange color distribution and balance laid out as I intended, if I gave the background a light blue wash. That was a good thing to do because it prompted me to add a few more scales in strategic spots. Here I am touching up. 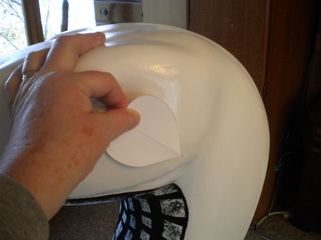 Here I began the pencil layout of the scales on the snake's head and along its back to the tip of its tail, using a simple paper template. At times I used two identical templates —one on each side — to assure that I was getting the formal balance I was wanted.  Originally the way I'd laid the paint down under its jaw gave the impression the snake was grinning. It reminded me of The Joker. So like Batman, I decided to wipe the smile off its face and finish the underside of the jaw this way instead. Now I can add the sipes that I talked about on Day 39. 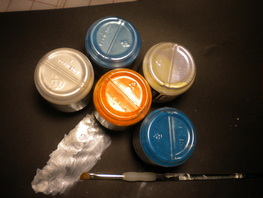 A few words about materials. The fiberglass sculpture was pre-primed by the manufacturer but I found it necessary to add an additional layer of standard white gesso which accepted pencil layout. A variety of my stashed acrylics in this compliment of colors are going to be used as base colors. I'll probably use a gel blending medium which allows two colors to blend seamlessly without drying out. In order to achieve the high metallic sheen that I promised to deliver, Pearl Ex powdered pigments and Pearl Ex Micropearl shown in the pic, will be mixed with clear varnish and used as a topcoat. In the above photo to the left of the brush, you can see just how reflective Micropearl is. It'll be dazzling in sunlight! 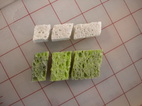 Not quite so dazzling are the worn rhomboid sponges which I prepared to create the look of tire tread tracks. The grid is in 1" squares for those of you out there who always ask "how big". I learned more about tread design, its obvious characteristics and upon closer examination, the relationship of its repeating patterns to each other than I'd have imagined possible. Who would have guessed that Tread Study in an Unbalanced Universe could be so interesting?  We name things so we can talk about them and identify each from the other. Can one of the experts at Dealer Tire fill in this anatomical void and tell me what those squiggly slits* in each block of raised tread are named? Do they add traction? Direct water flow? Help! (E-mail me at clevelandartseast@earthlink.net.) *Thanks and a tip-of-the-hat to all of you who came to my rescue! Those squiggly slits are sipes and they do indeed direct water flow and add traction on wet pavement. Thanks to Cindy Finke —the first of many professionals from Dealer Tire who generously made time to supply the info. Btw, Wikipedia says that siping was invented and patented by John F. Sipe in 1923. It's unclear whether he was a deckhand or a butcher. (Anybody?) Either way, Sipe stopped slipping by slicing the soles of his shoes. (Say that six times.) Siping tires was not widely adapted into the manufacturing process until the 1950's. Sssssssss... |
Dealer Tire, LLC. 3711 Chester Ave. Cleveland, Ohio Map & all snake locations shown below. Archives
March 2019
|


 RSS Feed