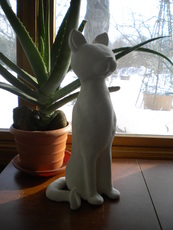
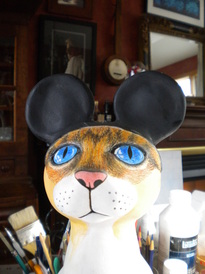
Mickey Meows ... a life-sized cat wearing the "ears".
|
Slideshow... |
Still photos with details. 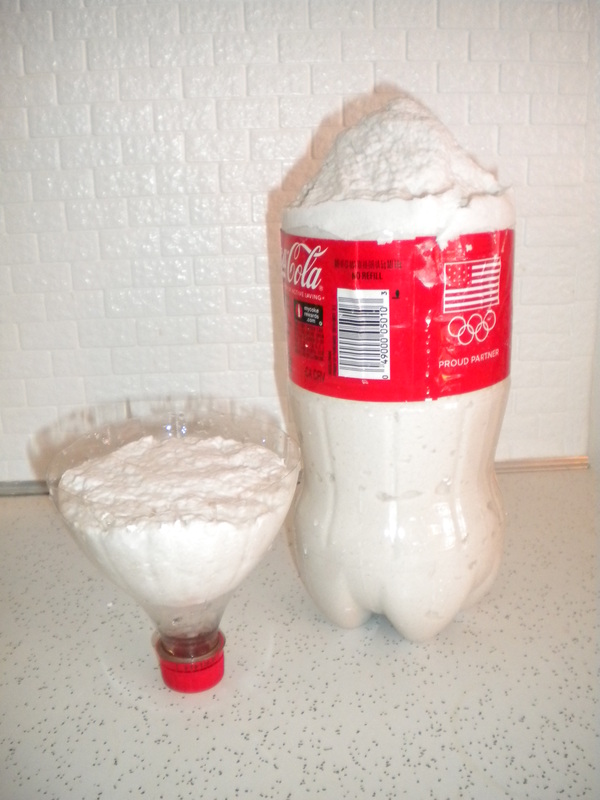
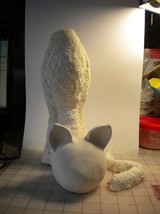
I used a 2 liter with the upper quarter sliced off to create a block of paper/plaster.
|
As the material began to harden, I mounded it in the center to add more height. This block will become the cat's body. As you can see, the upper part of the bottle was inverted and filled as well: it'll be the cat's head.
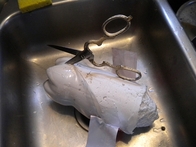
2.) After the material hardens enough to handle --it's firm but still feels cold and damp-- I used scissors to cut the plastic bottle away. If you use recyclable bottle in your project, exercise extreme caution! Edges of plastic are sharp enough to cut your hands.
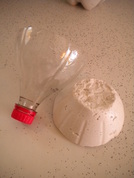
3.) The partially set material slipped right out without cutting or coaxing.
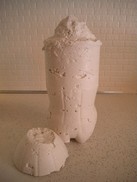
4.) Here's the results. At this stage the material is still soft enough to carve easily. With the edge of a retro-fitted spoon, the shoulder area was rounded, the waistline thinned, and I dug out the belly under the breastbone and added the suggestion of legs. Excess material was pressed back onto the block to beef up the neck and haunches and to build a tail.
This material is Amaco Sculptamold which handles like it's a combination of Plaster of Paris and cellulose fiber. Because it sets very slowly I sped up the process by drying it for 24 hours in the oven at 200 degrees. Plaster of Paris works too.
This material is Amaco Sculptamold which handles like it's a combination of Plaster of Paris and cellulose fiber. Because it sets very slowly I sped up the process by drying it for 24 hours in the oven at 200 degrees. Plaster of Paris works too.
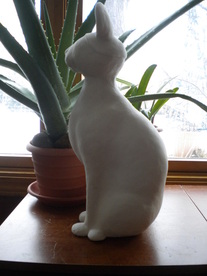
5.) In the pic on the left, the torso is dry and has the suggestion of cat-like proportions. I've covered the head with porcelain paperclay and added ears.
6.) The head is cemented to the body with slip --a slurry of clay and water.
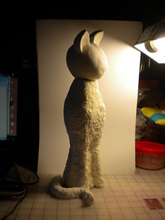
7.) The entire rough form has been smoothed with thin sheets of rolled paperclay laid end-to-end on the surface. The tail won't be attached until the last possible moment to make it easier to sand, carve and add material without it getting in the way.
8.) With the head and body together it's possible to see where the figure needs to be beefed up with added material.
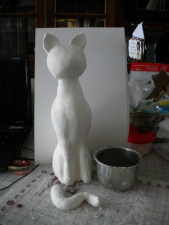
9.) Our cat now has front feet and most of his face. The entire sculpture has been plumped up and the silhouette is nearly right. Its been painted with several coats of slurry (clay watered down to the consistency of heavy cream) which helps to smooth out minor imperfections.
There's nothing I like better than playing with words and suddenly linguistic inspiration has struck! The cat will become Mickey Meows! It's time to turn those kittah ears into Mouse-cat-ears.
It's hard for me to believe no one has hit on on this particular parody. Web research uncovered a multitude of references to the Three Mouscateers, and a single article about Mickey Meow. There are videos of cats named Mickey Meows --with and without the "s". Someone who identifies as Mickey Meow also pins on Pinterest. But as hard as I searched, I found absolutely nothing commercial and no artsy parody. Even Mickey Mao doesn't come close. Stay tuned.
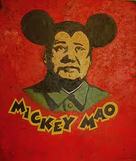
From the German site, WETZLAR Arthaus Genzel. Even if you don't read the language, check out the work.
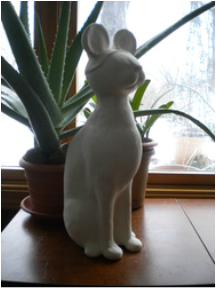
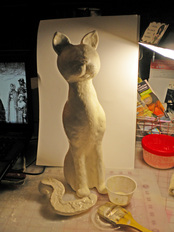
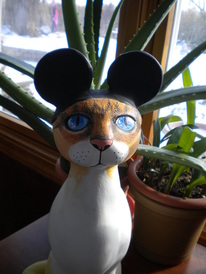
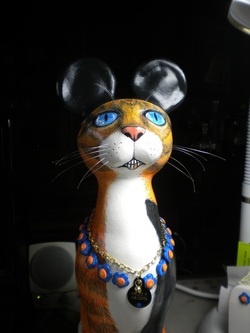
10.) Here's Mickey with the finished mouse-cat-ears. The original cat ears were already bone-dry when I began. I misted them lightly, waited until the surface no longer appeared wet, and began molding the Mickey ears. Additionally, rear feet have been put in place.
11.) The cat's still silhouette needed beefing up. A quick look back at photo 9 will show that I've added a substantial amount of clay to the back and chest. When this has dried, we'll have another look. I think I'll be adding more material to the lower back and haunches.
There's still an appalling lack of a tail. Poor kitty.
Here's where the tail was permanently put into place with a steel rod.
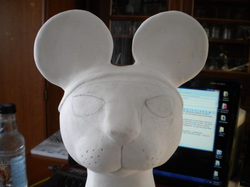
12.) I penciled in the eyes and realized just how weird this cat looks. Nothing a little tweaking won't fix.
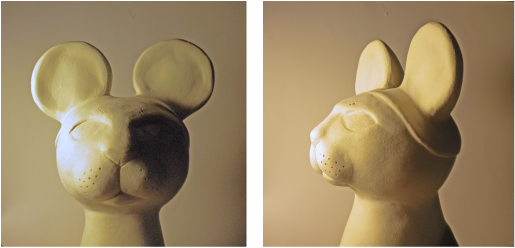
13.) & 14.) Time to carve out shallow eye sockets. I sanded a good bit off the left side of the nose because it meandered and needed straightening. Then I added eyelids and a brow ridge to add dimension. The profile looks good.
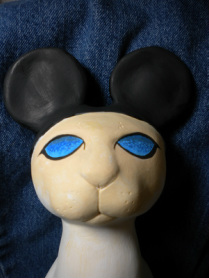
15.) Here, I've slathered the ears with basic black (blue and brown) and painted in the background of the eyes with a base coat.
16.) Added detail to the eyes and topcoated them to keep the color from smudging.
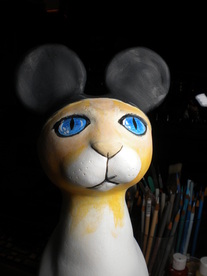
17.) Let's give this dude a nose and some facial hair. Notice that the pores from which the whiskers come have had color added too.
I decided to use a combination of acrylic paint and Sanford Prismacolor Pencils to detail the color and direction of the hair.
18.) It's beginning to win me over. Even with a detailed plan, I'm not afraid to admit that I'm never certain if I'm going to like the end result. Somewhere in the process, the work begins to take on a life of its own. This is that place.
19.) And sometimes that's not such a good place.
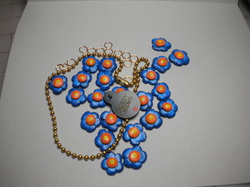
I've spent the past month stalled. The piece screams for more blue. But where to put it, and in what form? I experimented with changing some small body-spots to blue, but that didn't work. I thought a garland of flowers around his neck might do the trick.
The jury is still out. In the meantime I bought a dog tag and had it engraved.
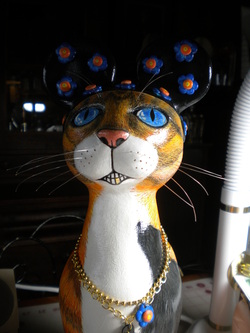
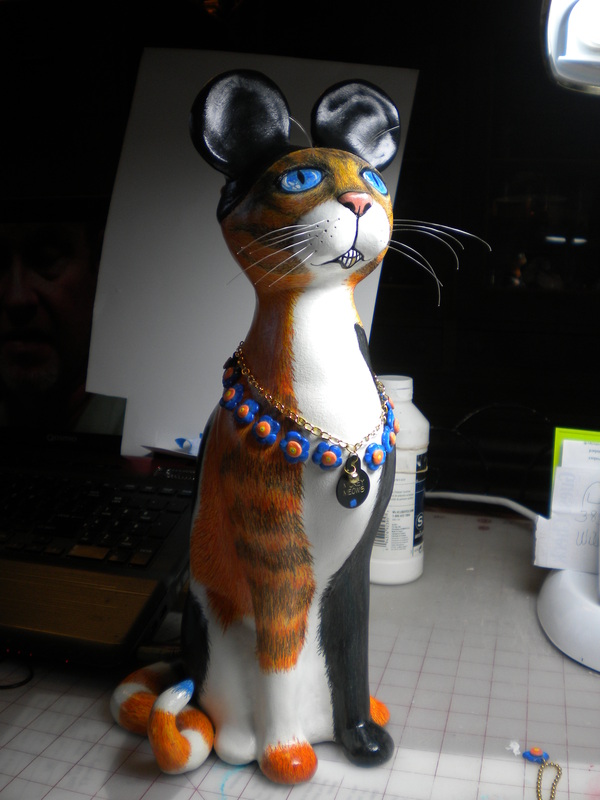
20.) In the meantime, most of the white area between his spots was absorbed by adjacent color fields and MM got his whiskers. I think it's a nice touch. The plan called for wire whiskers, but I like the monofilament even better.
Notice that a silly grin has camped it up. What's harder to see is that kittah has one gold tooth.
I killed the garland around his neck so quickly that there isn't even a photo; it seemed too cutesy. Instead, I hung a single flower on one chain to helps the eye travel from eyes to the tip of his blue tail.) The ID tag hangs on a a second chain.
Since, I've temporarily attached the blossoms directly to Mickey's ears.
Here are a couple of alternative ways to use the flowers around the neck. On the left, flowers are above two chains and on the right, flowers are below a single chain. What's best here?

|
|
Finally! Here we are. Flowers and chain permanently in place and I've greyed the line between kittah's nose and mouth.
If ever I've demonstrated indecision completing a piece, this is it. But now I'm happy, and getting tired of looking at Mickey Meows. And THAT's how I know he's ready to go. LOL.